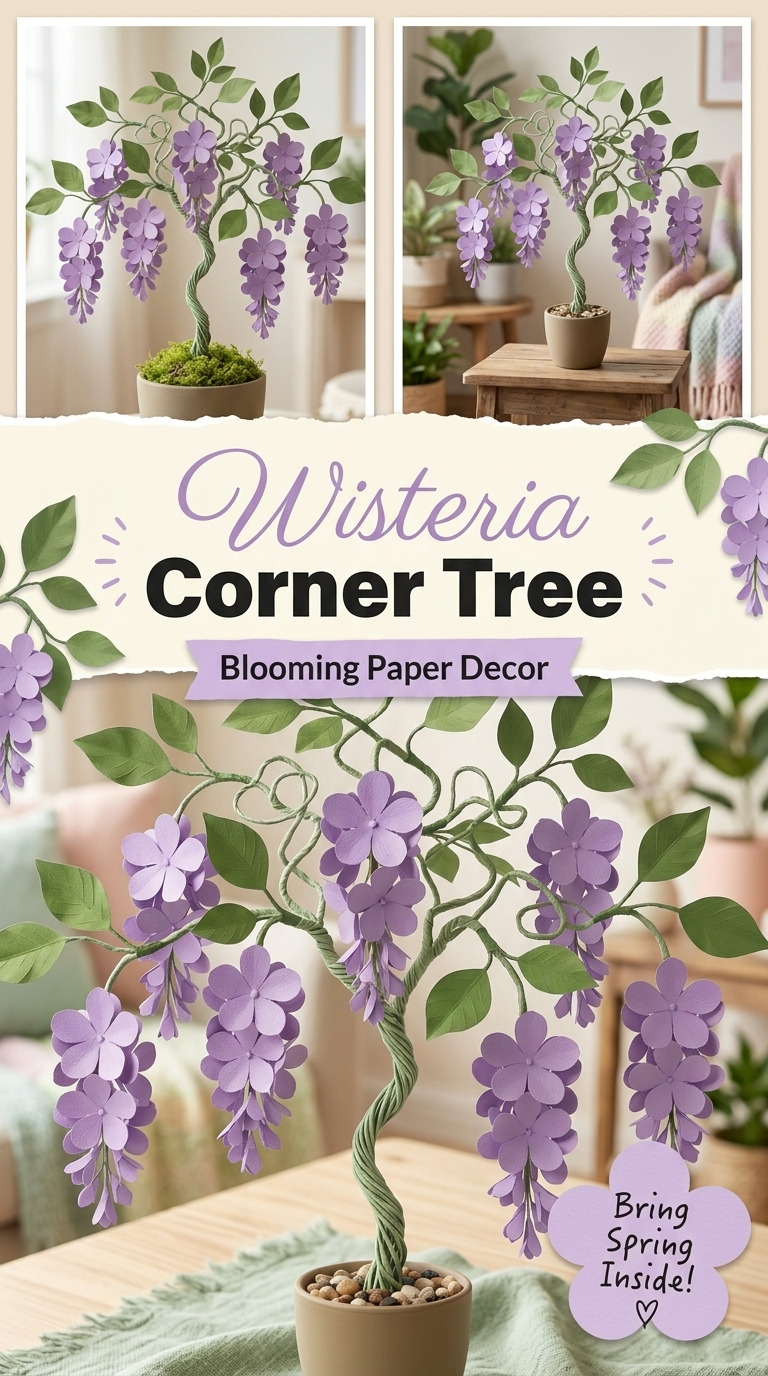
I’ve always loved the gentle beauty of wisteria trees, with their cascading blooms that add elegance to any space. Last winter, I had a big empty corner in my living room that felt so bland and lifeless, and I really wanted to bring a touch of nature indoors without the upkeep of a real plant. That’s when I decided to create this beautiful wisteria tree decor from paper and wire.
This dazzling piece not only fills that empty space, but it also becomes a delightful conversation starter. The vibrant cascading flowers and lush green leaves are perfect for brightening up a corner or even as a stunning centerpiece. What’s even better? This project is surprisingly easy, and I’m here to walk you through every single step!
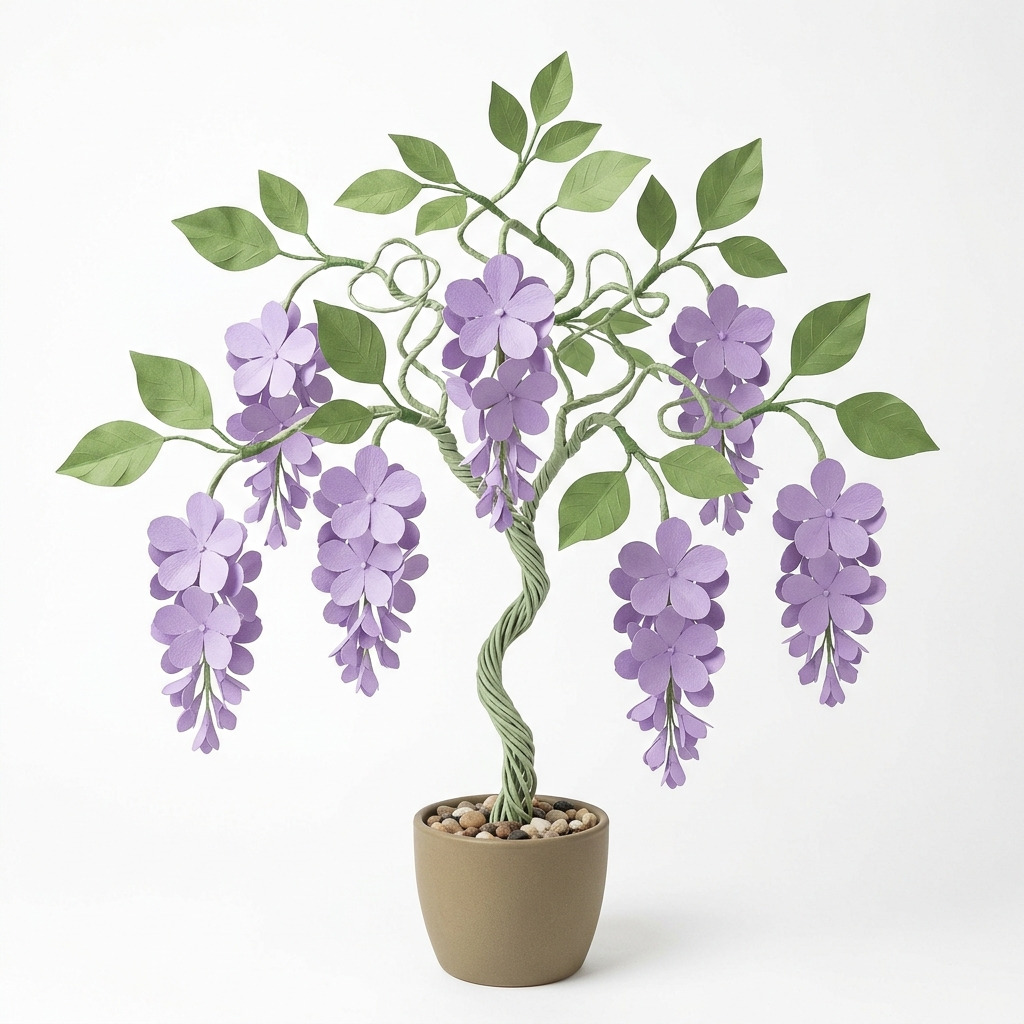
[Descriptive image caption of the finished project]
What You'll Need
Materials:
- Wire:
- 16-gauge florists’ wire, 20 yards (18.3 m). You can find this at any craft store, but if you don't have it, you can use any sturdy wire you have on hand.
- Paper:
- Lavender cardstock, 2 sheets (12" x 12" each). This will be your flower base. Use any similar colored paper if lavender isn't available.
- Green cardstock, 2 sheets (12" x 12" each). Get any green paper you have around, even recycled wrapping paper can work.
- Hot glue or craft glue: 1 bottle (4 oz). I prefer hot glue because it sets quickly, but regular craft glue will work too—just be patient with drying time!
- Floral tape: 1 roll (1/2 inch width). This is useful for attaching leaves, but you can skip it if you don’t have any.
- Acrylic paint: Light green (small bottle) for the tree trunk. Any light green paint will do, even poster paint if that’s what you have.
- Small pot: 1 (6" diameter) for the base. Check your recycling pile; sometimes old flowerpots do the trick!
- Florist foam or stones: 1 block (6" x 6" x 3") to secure the tree in the pot. You could also use pebbles or dirt.
- Embossing tool or stylus: For flower shaping (optional). If you don’t have this, just your fingers can create lovely shapes!
- Wire cutters: For cutting the wire. If you don’t have wire cutters, scissors might just do the job (although it’s harder!).
- Scissors: For cutting the paper.
- Ruler: For measuring the wire and paper.
- Pencil: For marking measurements on paper.
Tools & Equipment
- Hot glue gun and glue sticks for attaching flowers and leaves quickly.
- Wire cutters to neatly trim the wire.
- Scissors to cut your petals and leaves.
- Ruler and pencil for those precise measurements.
- A flat work surface—like a cutting mat—for easy crafting.
- Safety glasses (if preferred while cutting wire) to keep your eyes safe from any sharp pieces.
How to Make It, Step by Step
Step 1: Creating the Branches
- Start by cutting 5 pieces of your 16-gauge wire, each 4 feet (120 cm) long.
- Take all 5 wires and twist them together at the bottom—about 6 inches down—this forms the sturdy base of the tree trunk. You want to make sure it’s stable; if your branches wobble, your tree will look wonky!
- Gradually separate the wires and bend them to create the main branches extending outward. Picture how a real tree grows; this will give it a natural look.
Step 2: Making the Flowers
- Cut your lavender cardstock into petal shapes. Each flower needs 5 petals that measure 2.5 inches (6.5 cm) wide at the widest point and 3 inches (7.5 cm) long.
- You’ll need a total of 30 petals to make 6 flowers. That feels like a lot, but trust me, it’ll be worth it!
- Using the embossing tool or a rounded stylus, cup the petals slightly. This little detail really brings them to life!
- Glue the petals together using hot glue to form the flowers; remember to use 5 petals per flower. A small dot of hot glue in the center of each flower with a sprinkle of faux pollen (if you have it) will enhance that realistic touch!
Step 3: Making the Leaves
- For the leaves, cut the green cardstock into leaf shapes. Each leaf should be about 3 inches (7.5 cm) long and 1.5 inches (4 cm) wide.
- You’ll want to make a total of 20 leaves. It sounds like a lot, but each leaf is quick to cut!
- Use a pencil to score the midline of each leaf so it’s easy to fold. You can curl the edges slightly to make them look more realistic—trust me, it adds such charm!
Step 4: Attaching Flowers and Leaves to the Branches
- Begin at the base of your trunk and start attaching the flowers to the branches. You want to distribute them evenly to achieve a balanced look.
- Use hot glue to secure each flower in place and give it about 5 minutes to dry and hold strong.
- Once the flowers are glued, wrap the leaves around the branches using floral tape. Aim for about 4-5 leaves per branch; this will create a lovely, full look.
Step 5: Painting the Tree Trunk
- Grab your light green acrylic paint now, it’s time to refresh that trunk! Paint the exposed wire of both the trunk and main branches.
- Set it aside to dry; I recommend waiting for about 30 minutes just to be sure it’s completely dry before moving on.
Step 6: Assembling the Tree
- Take your small pot and insert the floral foam or stones to provide a strong base. If the foam isn’t snug, trim a little to fit.
- It's showtime! Push the base of the twisted wire trunk deep into the foam or stones, making sure it stands upright.
Step 7: Finishing Touches
- Step back and inspect your beautiful creation! Rearrange any flowers or leaves if necessary to get that perfect look.
- For an extra layer of charm, add ribbons or decorative stones around the base in the pot. This little detail really brings everything together.
Common Mistakes to Avoid
- Not securing the base properly. This can lead to a wobbly tree. Make sure your trunk is pushed in deep enough to hold its weight!
- Skipping the petal shaping. If you don’t cup the petals, your flowers will look flat. An extra touch makes all the difference.
- Rushing the glue drying times. Patience pays off! If not dried properly, flowers or leaves may fall off later.
- Uneven flower distribution. If the flowers are clumped, your tree won’t look balanced. Step back periodically to check.
- Forgetting to score the leaves. Scoring helps them fold nicely. If they don't fold, they can look too flat and fake.
Make It Your Own: Variations and Ideas
- Flower Color Swap: Change the color of your flowers to suit the seasons! Bright pinks for spring or rich purples for fall can add an interesting twist.
- Branch Styling: Twist the branches in different directions to give your tree an entirely new shape.
- Size Adjustments: Go bigger! Instead of 4-foot branches, you could create a larger version if space allows.
- Hang It Up: Mount the tree on the wall with hooks for an interesting wall decor concept—try it in a hallway!
- Add Details: Consider adding butterflies or other small creatures as embellishments among your flowers. These can add even more life to your creation!
There you have it—your very own wisteria tree that will brighten any room with a touch of nature. Enjoy crafting it, and most importantly, make it truly yours!
Before You Go
Pin this for the next rainy afternoon: Be sure to save this post so you can easily return to it when you're ready to craft your beautiful wisteria tree! Trust me, once you get started, you won’t want to stop.
Come back and tell me how it went: No question is too basic, and if your project didn’t go quite as planned, I’d love to hear about it too! Your experiences can help others, and every journey is a learning one.
Show off what you made: I can’t wait to see your creations! Feel free to share when you finish making your wisteria tree. Enjoy every moment of crafting!